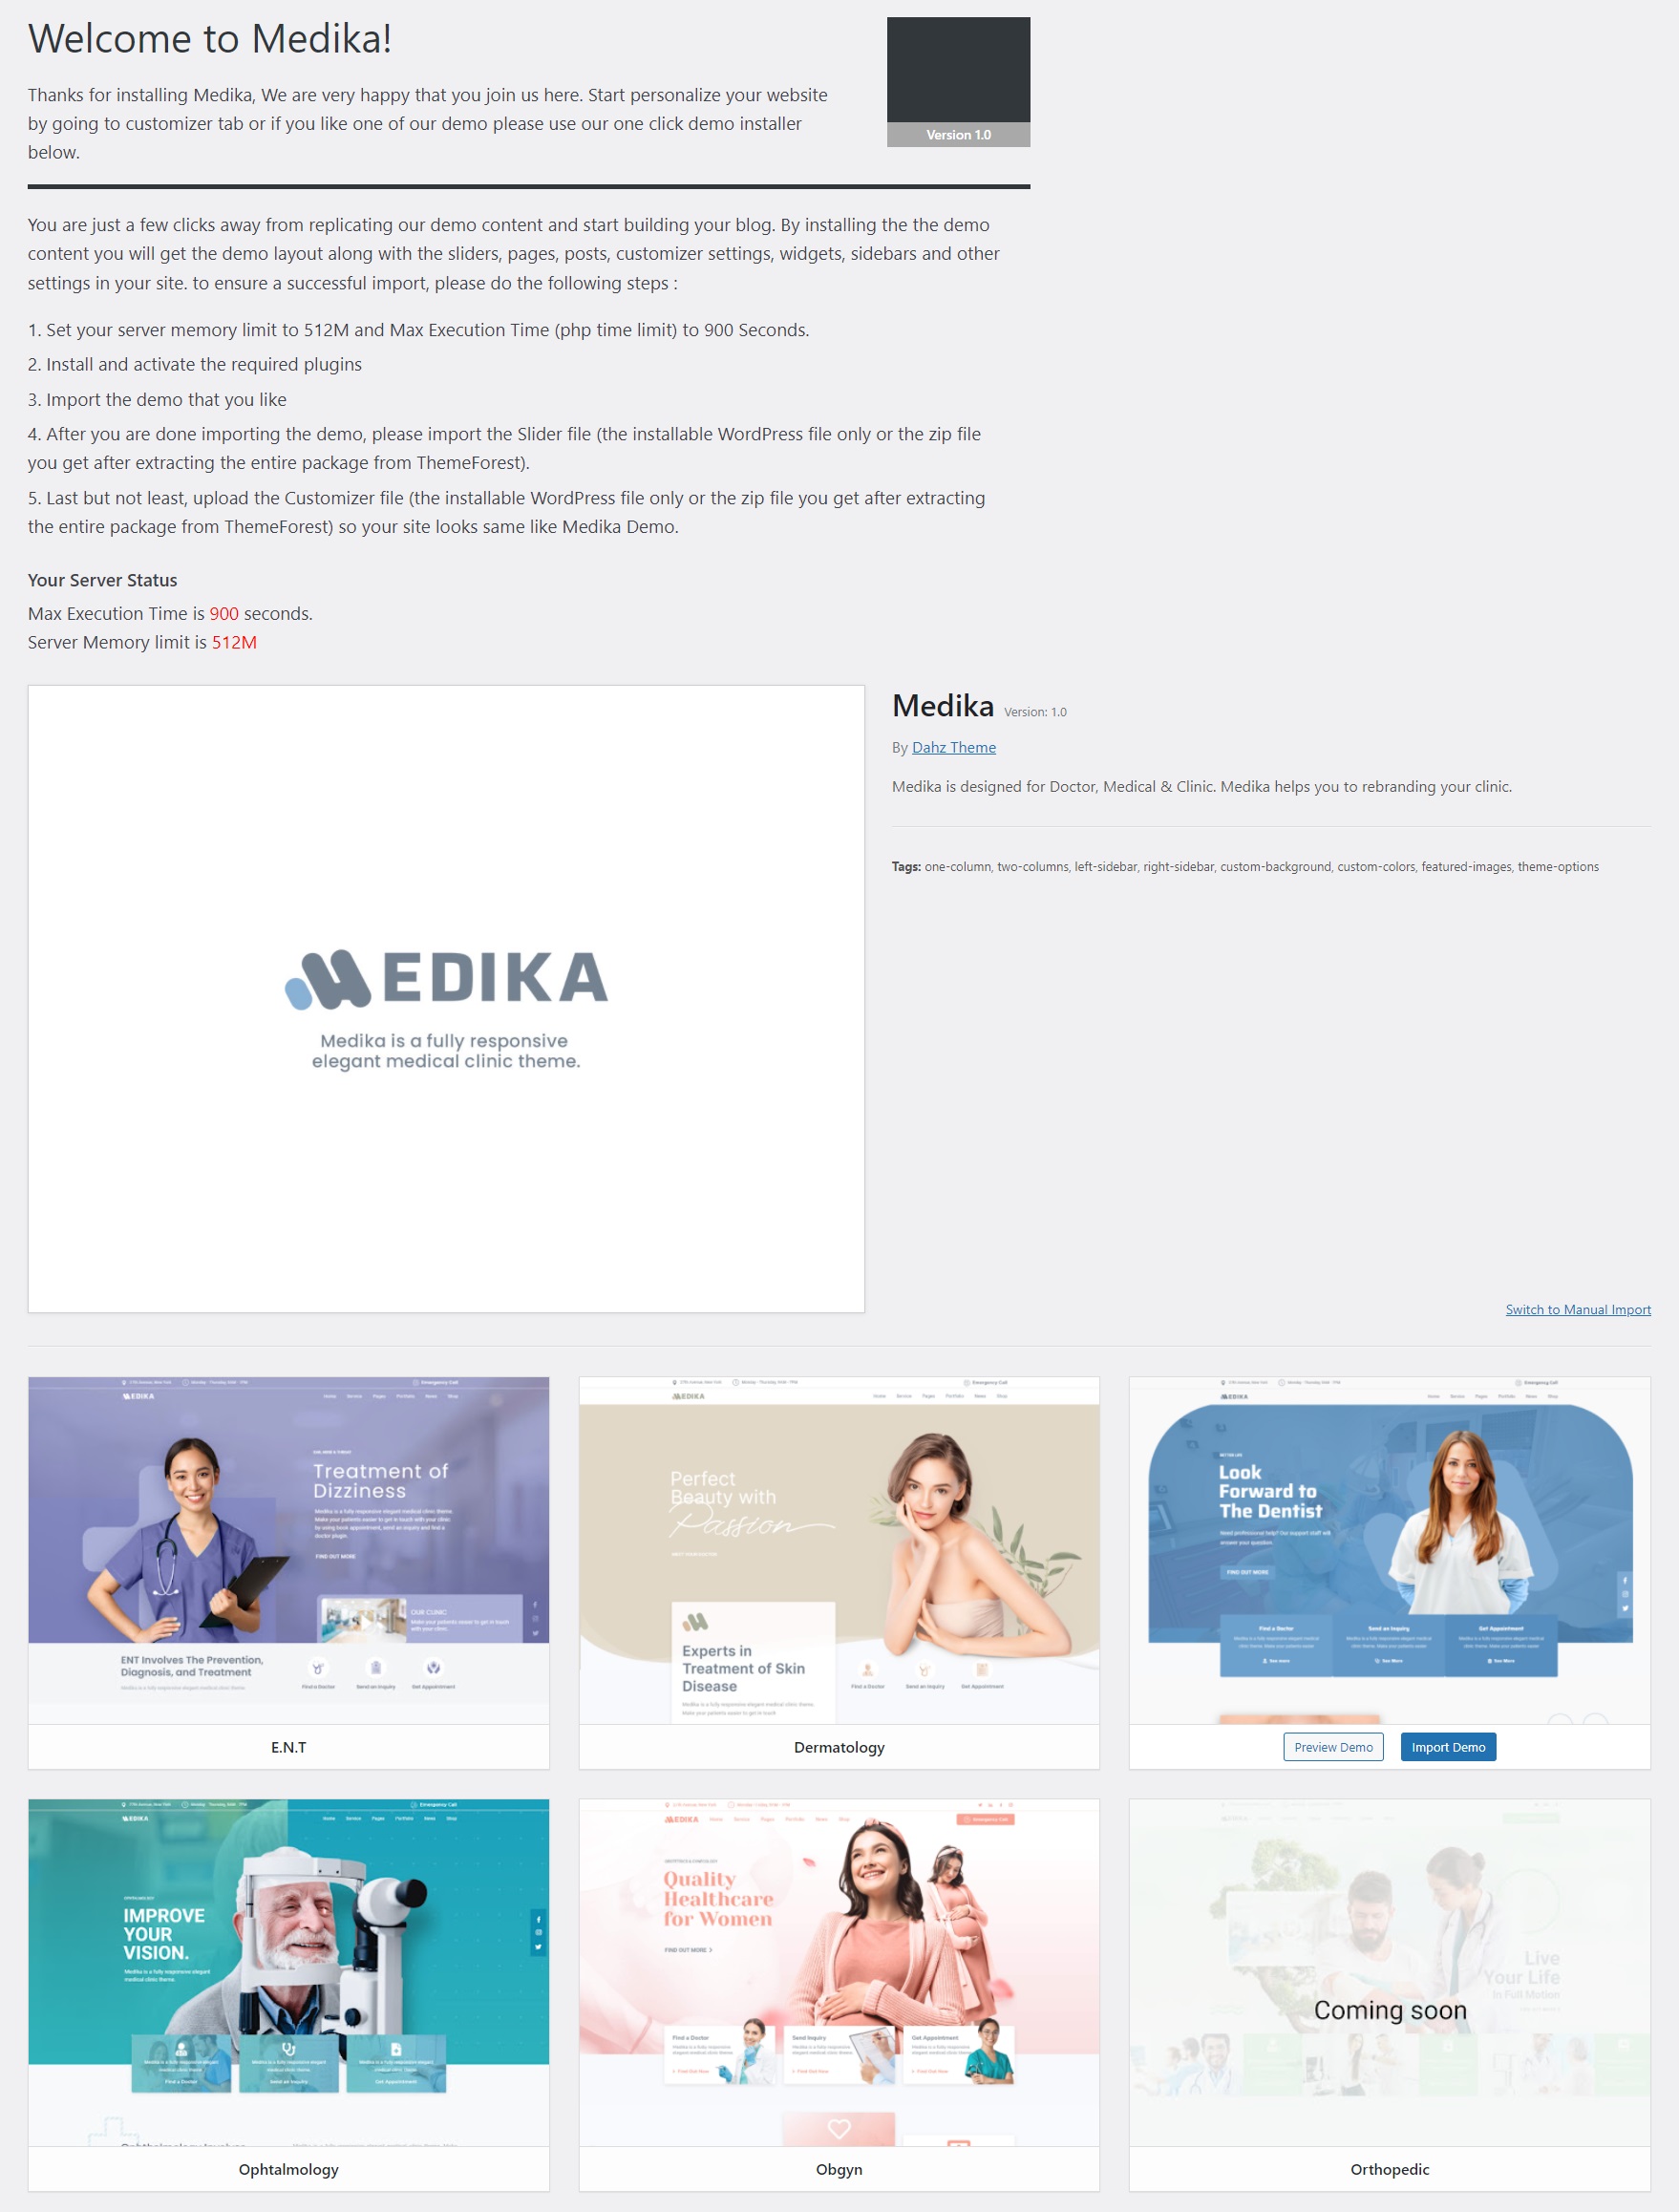
Medika quick demo installer is a tool to replicate the demo – including demo layout, customizer settings, posts, images and widgets to your site in a very simple process.

1. Go to Appearance > Import Demo Data
2. Make sure you meet all the requirements stated
· Install the required plugins
· Set your server memory limit to 512M and Max Execution Time (php time limit) to 900 Seconds.
· Set the WooCommerce image setting to:
- Catalog Images: 600 x 764 px, hardcrop
- Single Product Image: 1000 x 1273 px, hardcrop
- Product Thumbnails: 180 x 230 px, hardcrop
3. Choose the desired demo and click Install/Ok to start importing
4. After you are done importing the demo, please import the Slider file (the installable WordPress file only or the zip file you get after extracting the entire package from ThemeForest)
5. Last but not least, upload the Customizer file (the installable WordPress file only or the zip file you get after extracting the entire package from ThemeForest) so your site looks same like Medika Demo
6. Done, your site has been Medika!
NOTE: This feature need you to install the One Click Demo Installer plugin that already prepared in the requirement plugin. To install OCDI plugin edited version, from WordPress dashboard go to Appearance > Install Plugins after you install and activate the theme. If you want to upload it manually, please find the zip file in plugins folder of the theme package.
