Installation
WordPress Installation
To use this theme you must have WordPress engine installed. We assume you have a working version of WordPress already up and running. If not you can check this great compilation link by WordPress guiding you through the process of WordPress installation.
Theme Installation
When you downloaded the package from ThemeForest, you will get a single zip file. Please extract that file and keep it somewhere safe.

In this section, you will learn how to install Verko as your theme. To install Verko to your website, you can do this one of two ways:
WordPress Installation
- Open your WordPress Dashboard.
- Go to Appearance > Themes.
- Click Add New.
- Click Upload Theme.
- Browse and find verko.zip
- Click Install Now.
- Activate the theme.
FTP Installation
- Log In to your server via FTP Client Software. I like Filezilla.
- Navigate to wp-content/themes directory.
- Upload an extracted Verko.zip or Verko directory to this directory.
- From WordPress Dashboard, Go to Appearance > Themes and activate the new theme.
Recommendation: After installation, go to Verko > Customizer to initiate default theme options.
Common Issue
PROBLEM: Broken Theme/Stylesheet Missing WordPress
SOLUTION: The most likely culprit? You’re not uploading the correct files. Be sure you are only uploading the theme folder if using FTP or the Verko.zip file if using the Appearance > Themes Menu.
Plugin Installation
After you install the theme, there’ll be a list of suggested and recommended plugins at the top of the wordpress dashboard.

If you already hide it out, you can go to Appearance > Install Plugins section instead too.
Install and activate all plugins.
Demo Installation
To recreate looks like our demo site, there are two steps that you need to be finished.
Importing XML
These are the explanations how to import our demo website content by following steps. Read carefully and if you face any problem that is not covered here, open a thread in our support forum.
- Open your WordPress Dashboard.
- Go to Tools > Import.

- You may need to install WordPress Importer plugin for first time.

- Browse to Demo Content XML > XML > verko.xml from extracted theme package.
- You will first be asked to map the authors in this export file to users on the blog. For each author, you may choose to map to an existing user on the blog or to create a new user. Don’t forget to check the download all images option before you hit the import button.
- WordPress will then import each of the posts, page, custom post types, comments, and categories contained in this file into your blog.
- Notice that the Sidebar and Footer Widgets and theme settings are not replicated on your imported demo content. You should be the one to create the widgets. To create widgets, navigate to the left sidebar menu of the WordPress’ Dashboard, then Appearance > Widgets. Just drag and drop the widgets on to the widgets area on the right side of the widgets page.
- To Import the demo theme’s setting, read Importing Customizer section below.
- After this, you should also update the Menus by going to Appearance > Menus. Locate the Theme Locations box and select from the drop-down “Main Navigation” and “Footer Navigation” as respect to the locations the selectbox label indicates. Click the Save button under it to save the changes

- Done! You should now have the dummy/demo content similar from the Live Preview of the theme
Importing Customizer
All Theme Options will be kept on Customizer. You need to import .json file from the package. Follow below easy steps.
- Open your WordPress Dashboard.
- Go to Verko > Backup
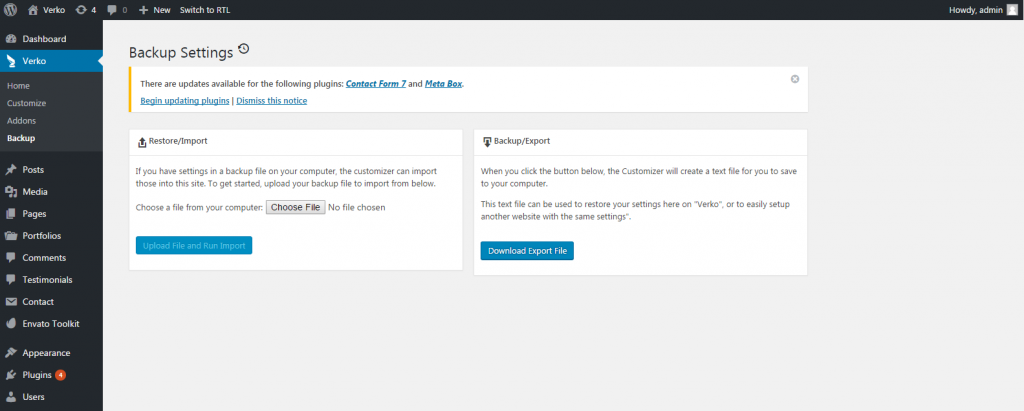
- In the Restore/Import box, click Choose File.
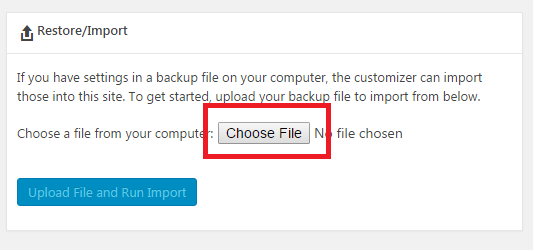
- Browse to Demo Content XML > Customizer > verko-agency.json/verko-app one page.json/verko-main-demo.json from extracted theme package.
- Click the Upload File and Run Import button.
- You will get success message “All Options were restored successfully”.

Importing Slider
Verko comes with most popular slider plugin, Master Slider
- Open your WordPress Dashboard.
- Go to Master Slider > Master Slider.
- Click Import & Export Button > Import.
- Browse to Demo Content XML > Master Slider > verko-masterslider.json from extracted theme package.
- You will get a notification with “All data imported successfully, have fun 🙂 Back to panel ..”
Assign Homepage
As default, you will see blog list page as homepage. To change this
- Open your WordPress Dashboard.
- Go to Settings > Reading > Front page displays
- Choose A static page
- From the dropdown, choose page that you want to be homepage.
Theme Updating
There are three methods to update your theme, but the most important thing, you will know how to backup your website before updating.
Theme Settings Backup
- Open your WordPress Dashboard
- Go to Verko > Backup
- In the Backup/Export box, click the Download Export File button.
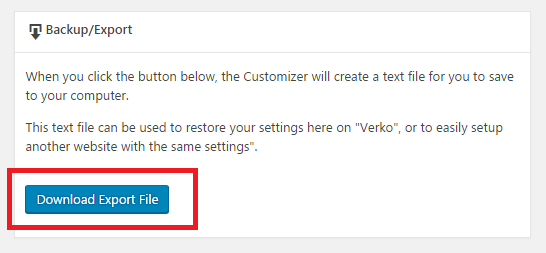
- Then browser automatically download .json file. Keep it safe, you will need this file to restore your theme setting.

Via Envato Toolkit
- Install Plugin named Envato Toolkit and activate it.
- To establish an Envato Marketplace API connection navigate to the `Envato Toolkit` page and insert your Marketplace username and secret API key in the designated input fields. To obtain your API Key, visit your “My Settings” page on any of the Envato Marketplaces.

- To retrieve your Themeforest API Key. Log In into Themeforest Account. Go to My Settings > API Key

- Once the API connection has been established you will see a list of themes that can be auto installed. If you don’t see any themes and are certain you’ve done everything correct, there is a good chance the theme author has not updated their theme to be available for auto install and update. If that’s the case, please contact the theme author and ask them to update their theme’s information..

- Click “update automatically” then you will get popup “Updating this theme will detele …” and you will get following message indicates update done.

NOTE: In some cases, you will not lose your customizer settings eventhough the notice say otherwise.
WordPress Dashboard
- Open your WordPress Dashboard.
- Go to Appearance > Themes
- Deactivate current Verko Theme and activate other theme (twenty fifteen).

- You can delete current Verko Theme.
- You can upload again new Verko Theme and activate it again.
- Go to Dahz Config > Import, browse your Dahz Config backup

- Click “Choose File” then browser your backup .json file.

- You will get notification that indicated you’ve imported it successfully.
Via FTP
You can update your theme via FTP. With this method, you do not need to import / export .json
- Login into FTP account.
- Browse to this directory wp-content > themes .

- Delete current Verko folder.
- Upload unzipped Verko folder.
- Make sure that you’ve uploaded all the files successfully.