Kitring features MailChimp for WordPress plugin to create newsletter signup form. The signup form can be displayed in the widget area and newsletter pop-up of your website. To add a MailChimp newsletter form, you need to create a MailChimp account first if you don’t have one. Install and activate the plugin, and then set up your signup form.
MailChimp Setting
- After installing and activating the plugin, go to MailChimp for WP > MailChimp section from your dashboard.
- Add your MailChimp API key (use Get your API key here link to obtain your key) then click Save Changes.

- Go to MailChimp for WP > Forms, check your list for ‘Lists this form subscribes to’ option to set which list to use for subscription on MailChimp
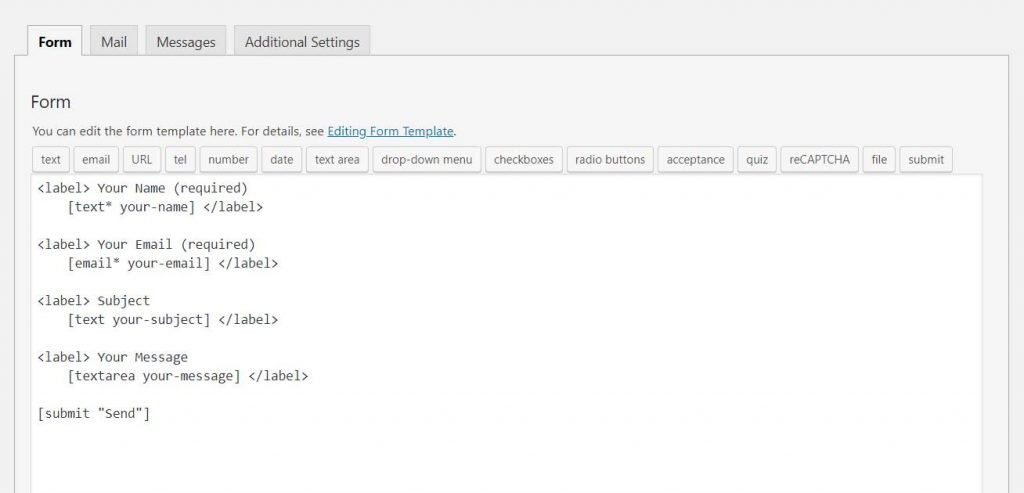
- Customize the form to your liking, then click Save Changes. You may use the field generator for the easiest way in creating form
- Copy the shortcode at the bottom of form setting to display this form inside a post, page or text widget; next we will try to create the form in the widget area

- Go to Appearance > Customize > Widget.
- Choose an available widget area to input the form, then add ‘MailChimp Sign-Up Form’ widget into it.
- Paste the shortcode into the box.
- Save & publish
TIP: You may also display the link for signing up as an element in header builder, and the setting can be found in Appearance > Customize > Header > Newsletter.
Popup Newsletter Settings
After setting up the MailChimp form, you can use the shortcode to create pop-up signup form.
- Go to Appearance > Customize > General > Newsletter.
- Enable the newsletter pop-up option.
- Paste the MailChimp shortcode in the Newsletter Form.
- Fill in the heading and text for the pop-up form.
- Select the interval when you want the pop-up form appears.
- Select a style for the pop-up layout.
- Click Save & Publish.
Alternatively, you can use Modal Pop-up Shortcode in WPBakery Builder to create pop-up newsletter
NOTE: If you can’t directly see your customization on the live customizer, you need to Save & Publish it first.
