Here you will learn how to create pages for your website.
Note: If you imported the Demo Content, you can directly choose from among the twenty one (21) Home Pages layout that were imported from the demo content. Now let’s suppose you want Home V20 as your home page. To set it, you would navigate to your WP-Admin panel, scroll down the left sidebar to “Settings” and click on “Reading Settings:” then Click on “A static page”, then click on the “Front Page” Box to open a drop-down list. In this example, we chose “Home V20” as our Home page.

You can also set your blog page here by assigning a blog page in ‘posts page’.
If you DID NOT import the Demo Content, you will need to manually create your Pages first. Here’s how:
Homepage
find [Pages] in the left sidebar of your admin panel and click on the second options [Add New] , so the screen will look like this
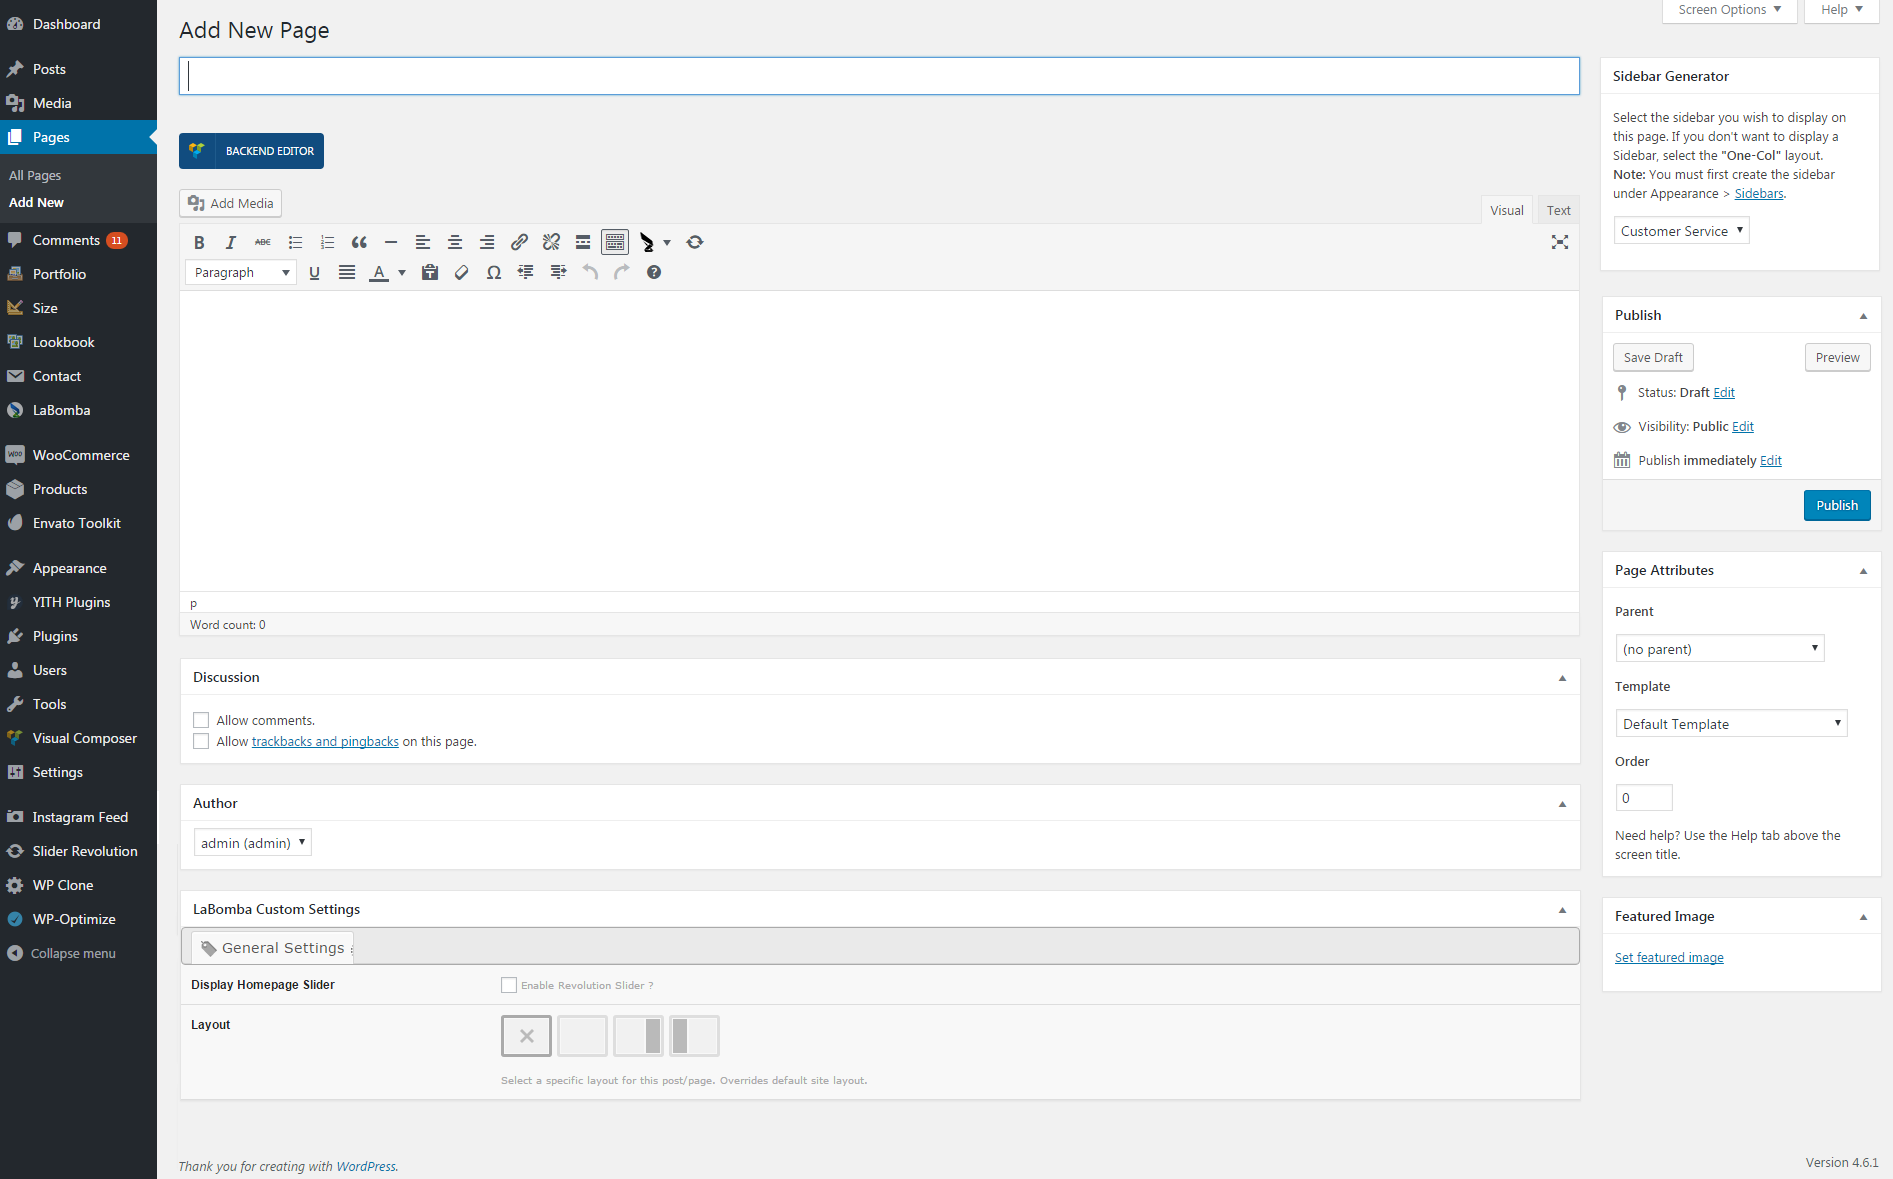
Give a Name for your new page (here, I’m going with ‘Home v2’) Now scroll to the right sidebar and click on the Template drop-down arrow. From the drop-down, choose the “Homepage” template.
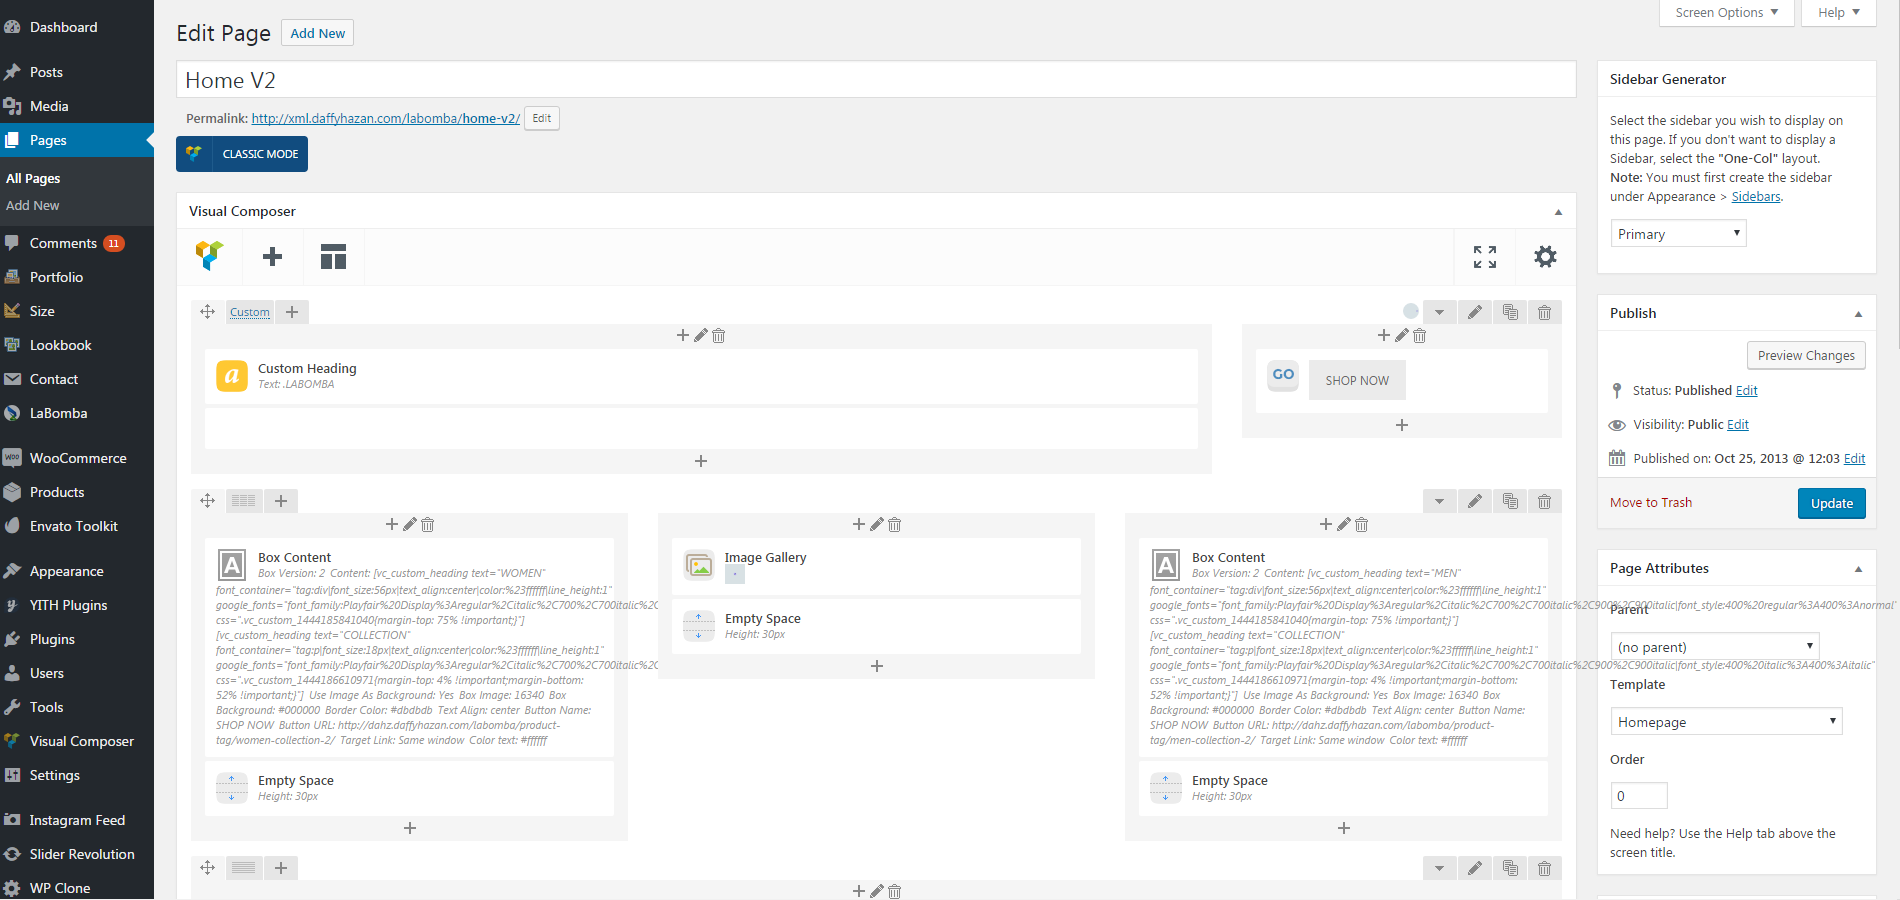
Finally you can add any content you want using visual composer or classic editor.
Now scroll up and click “Publish”.

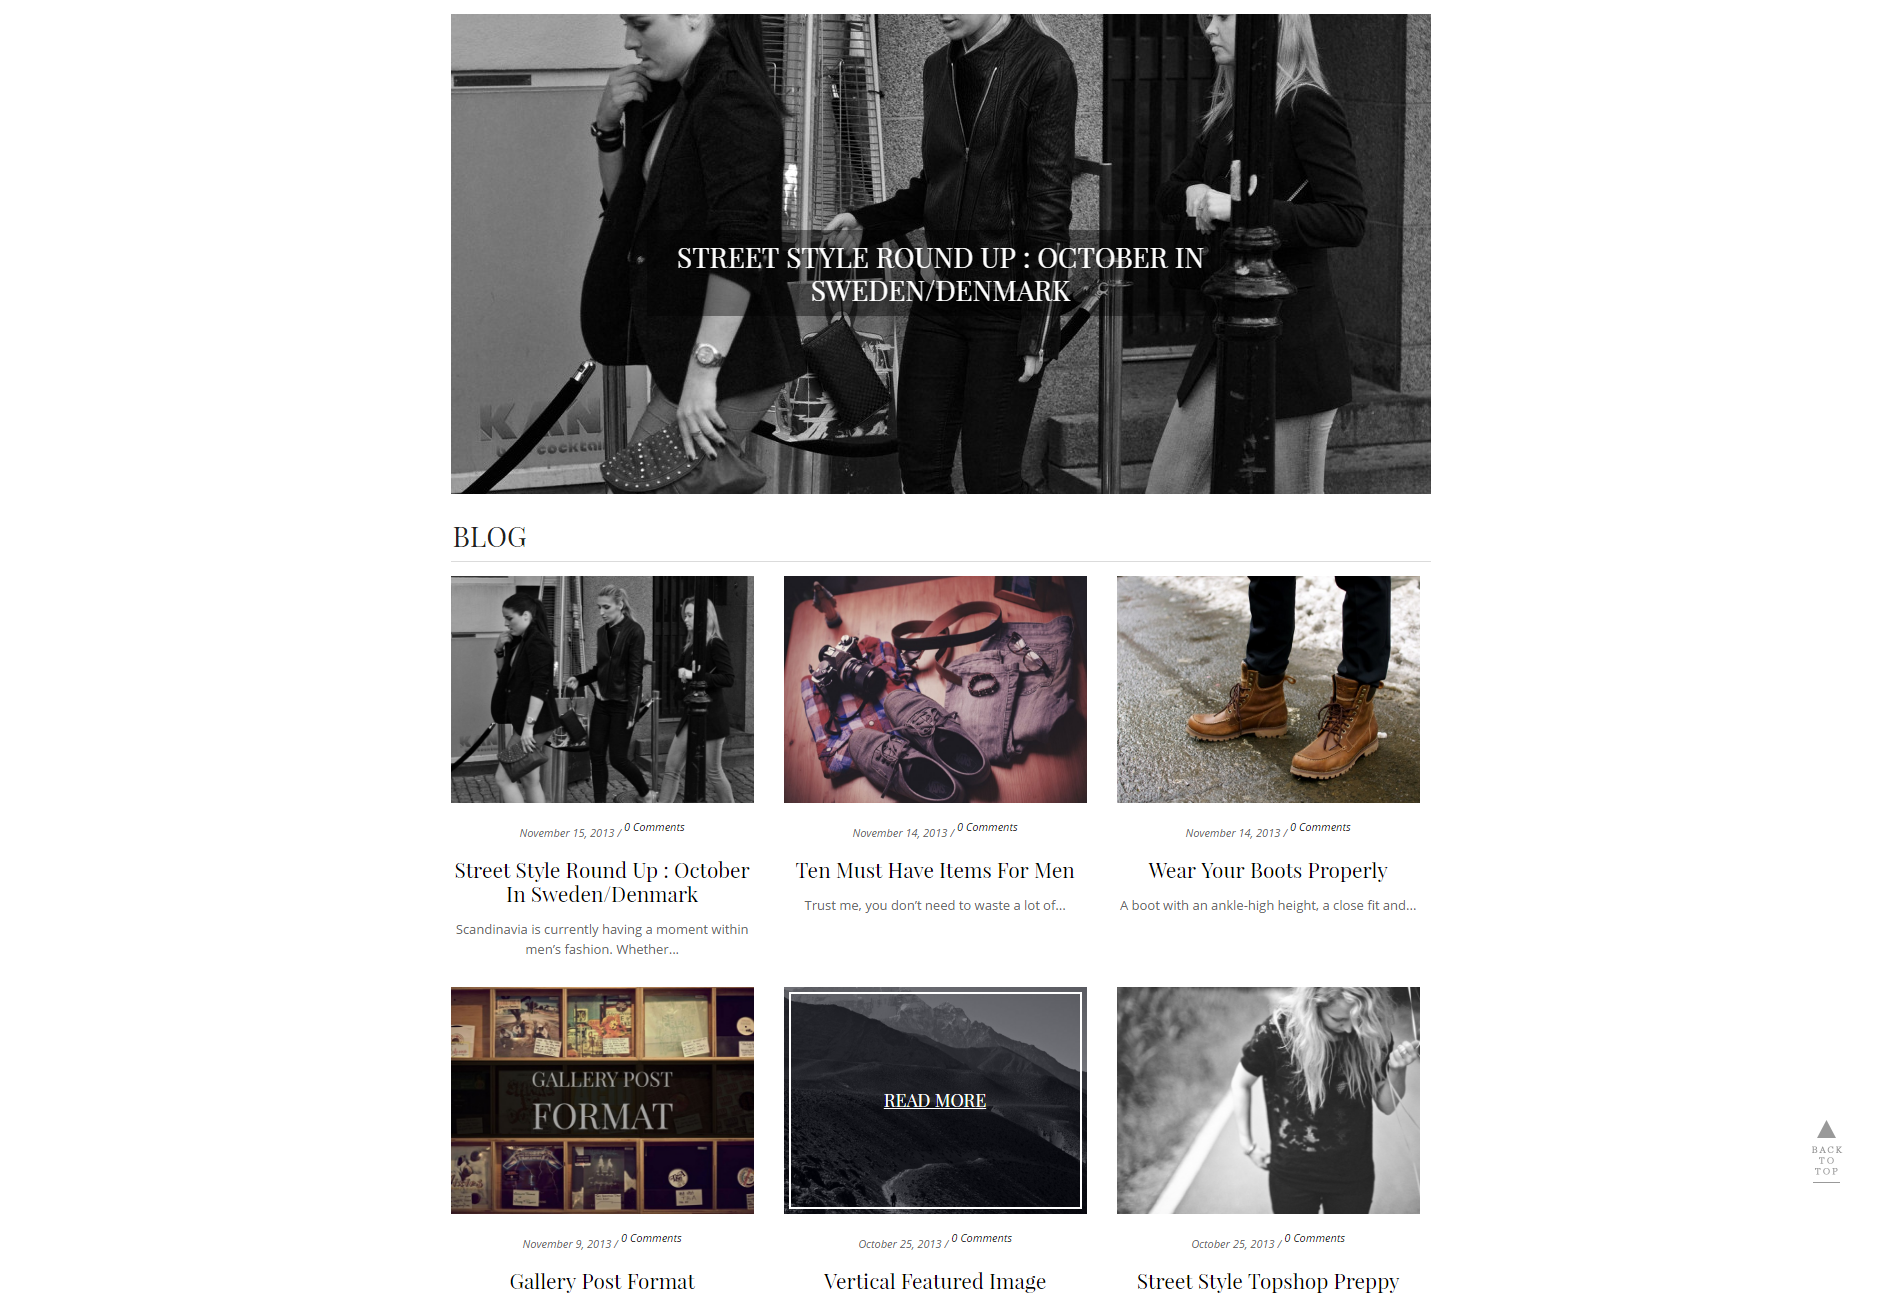
Blog
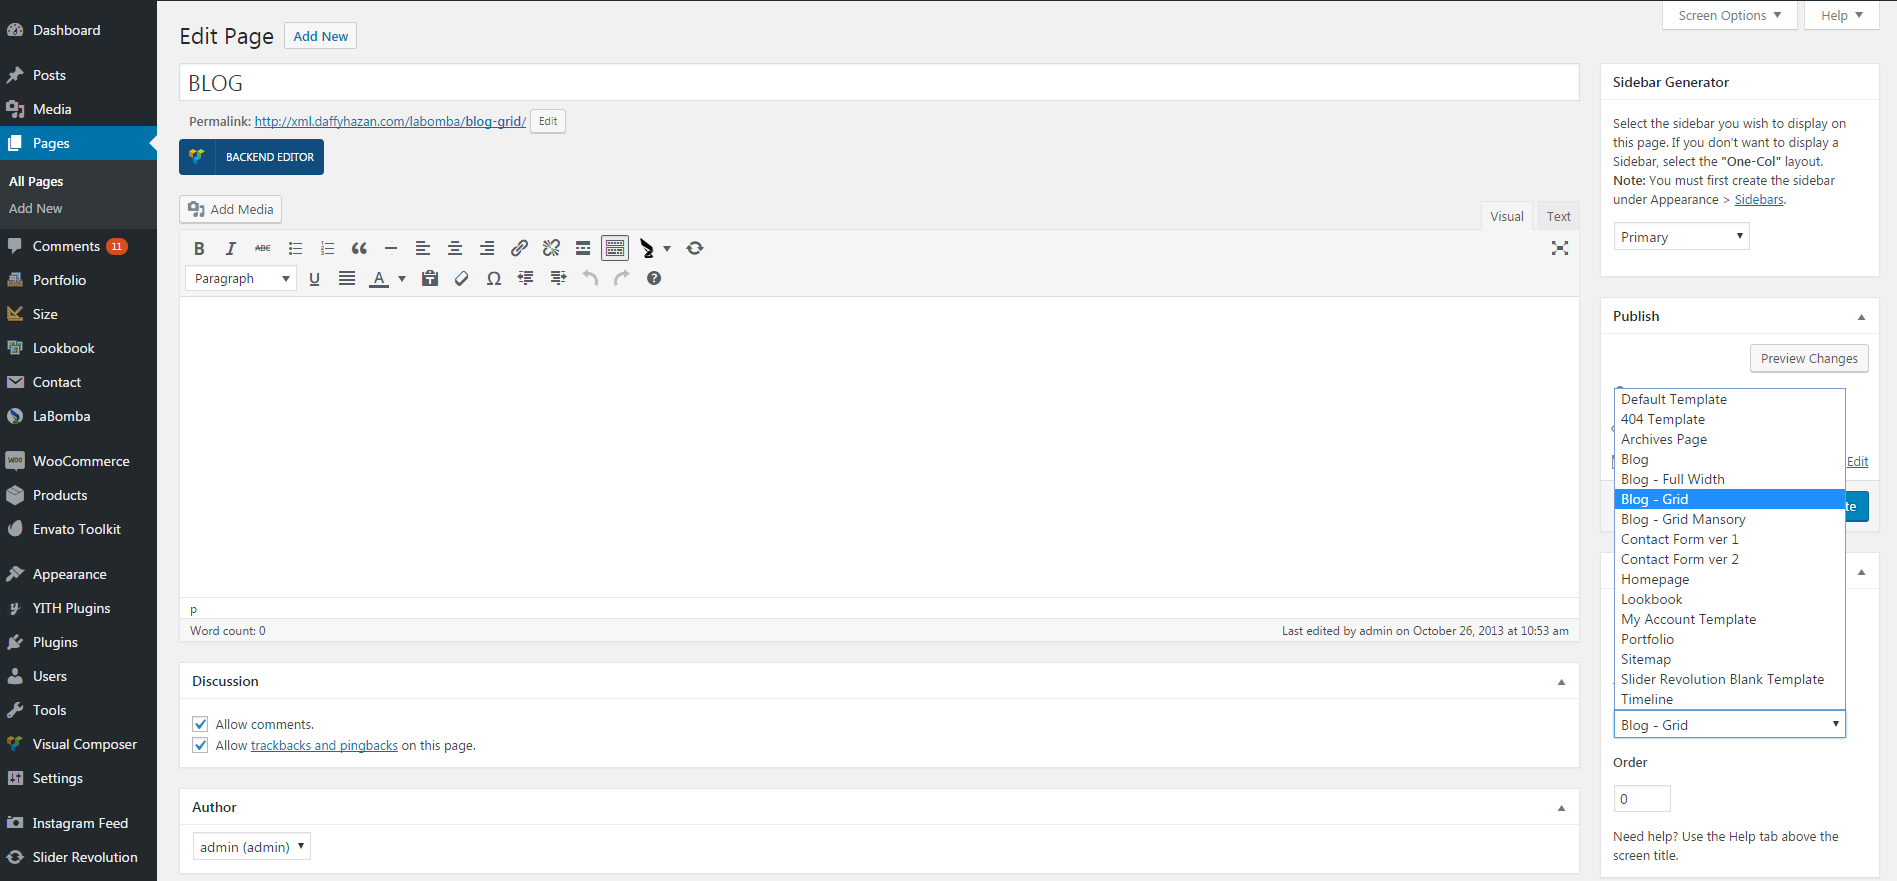
find [Pages] in the left sidebar of your admin panel and click on the second options [Add New] , so the screen will look like this
Give a Name for your new page (here, im going with ‘BLOG’) Now scroll to the right sidebar and click on the Template drop-down arrow. From the drop-down, choose one of our blog template.
Finally publish it! Your blog page will be created in your site
You can set up other element of the blog page such as enabling infinite scroll within LaBomba > Blog > Archive Blog.
Contact Us
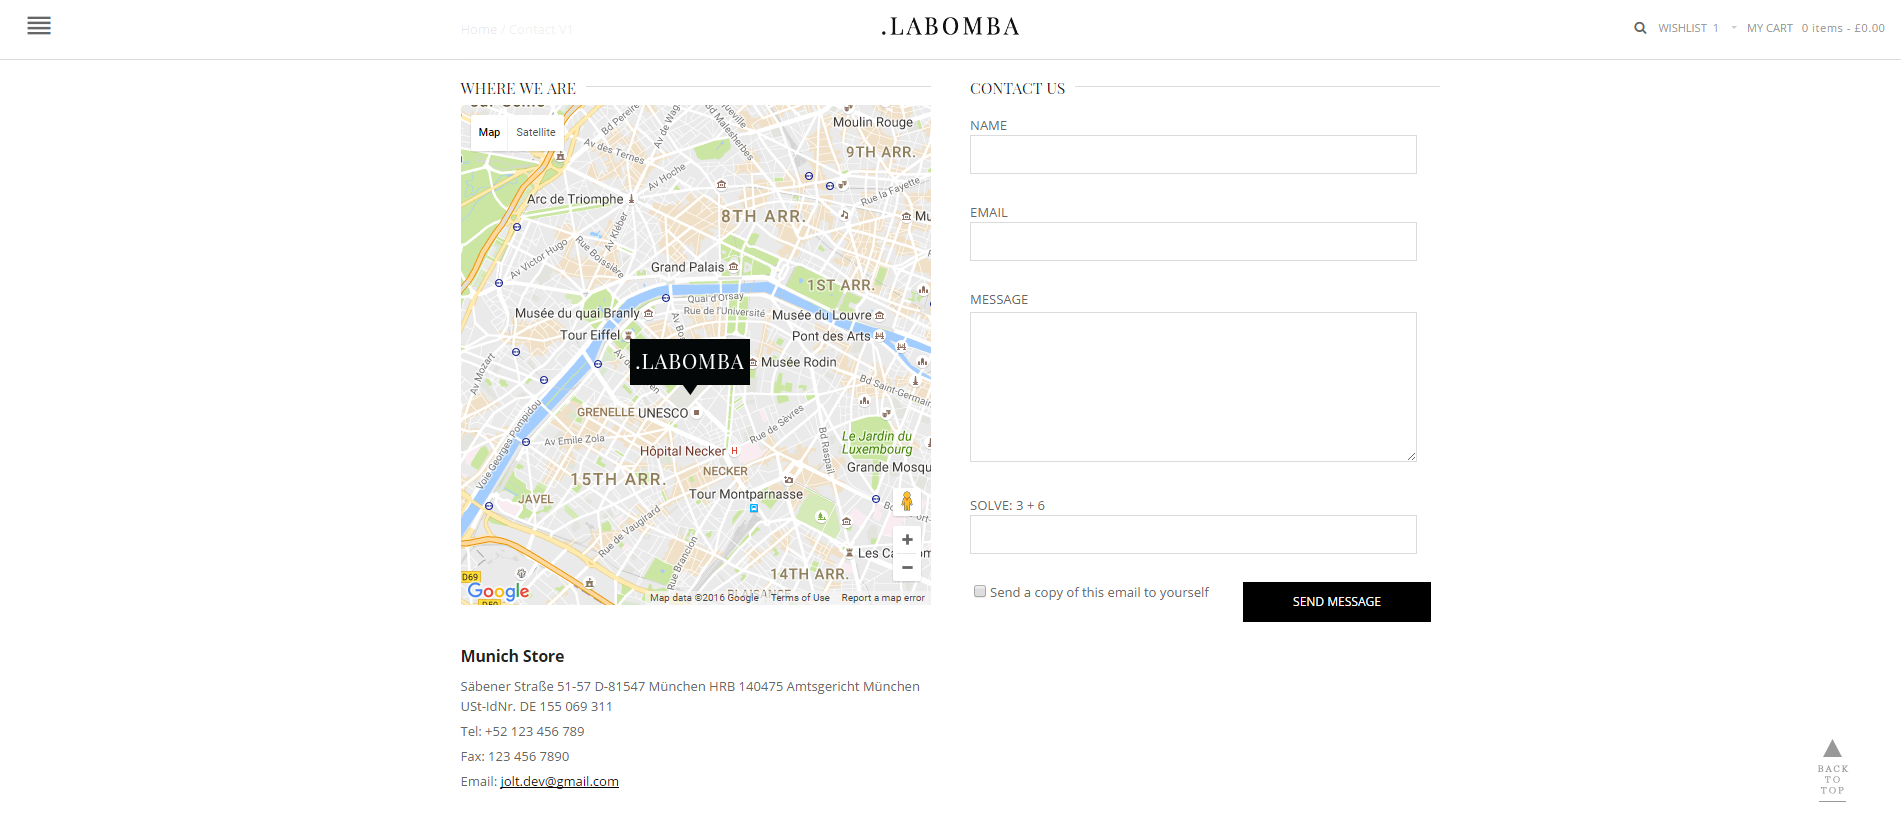
So you need to provide a form so your user can contact you? Here’s how to set up a contact page in LaBomba.
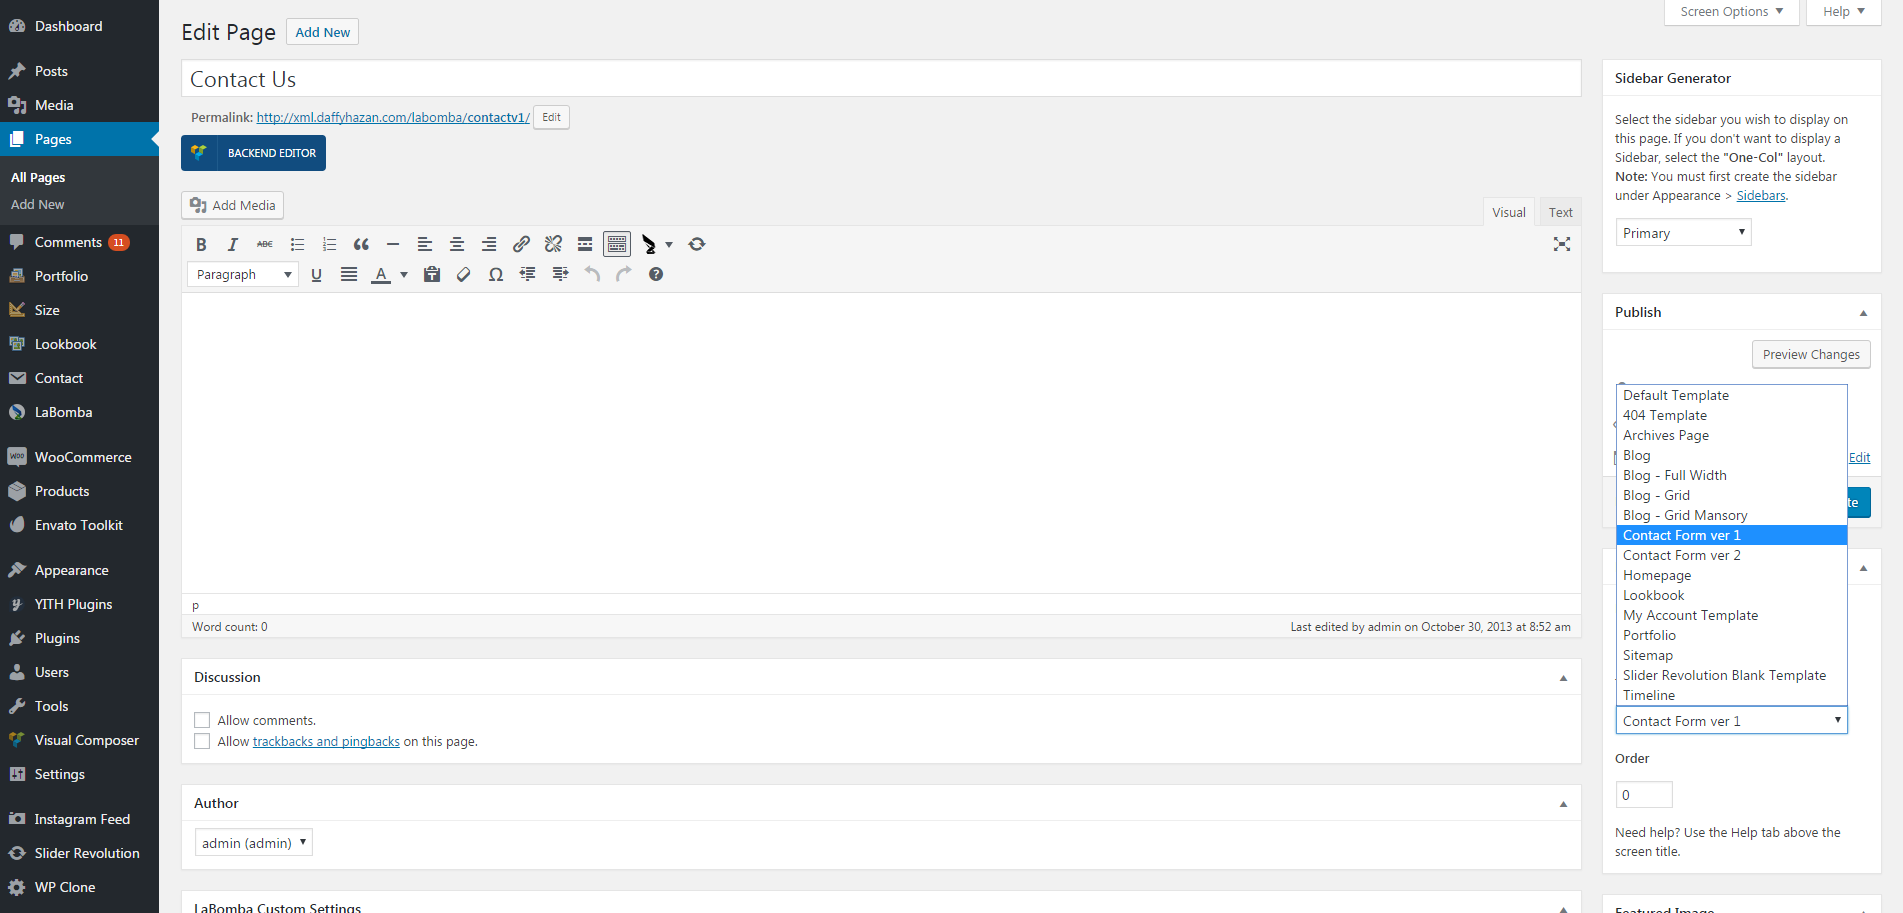
First find [Pages] in the left sidebar of your admin panel and click on the second options [Add New].
Then give a name for your new page (here, im going with Contact Us’) You only need to Fill the page’s name and then change the template to contact page (choose v1 or v2) after that, publish it!
To add your address and other credentials you can follow this steps
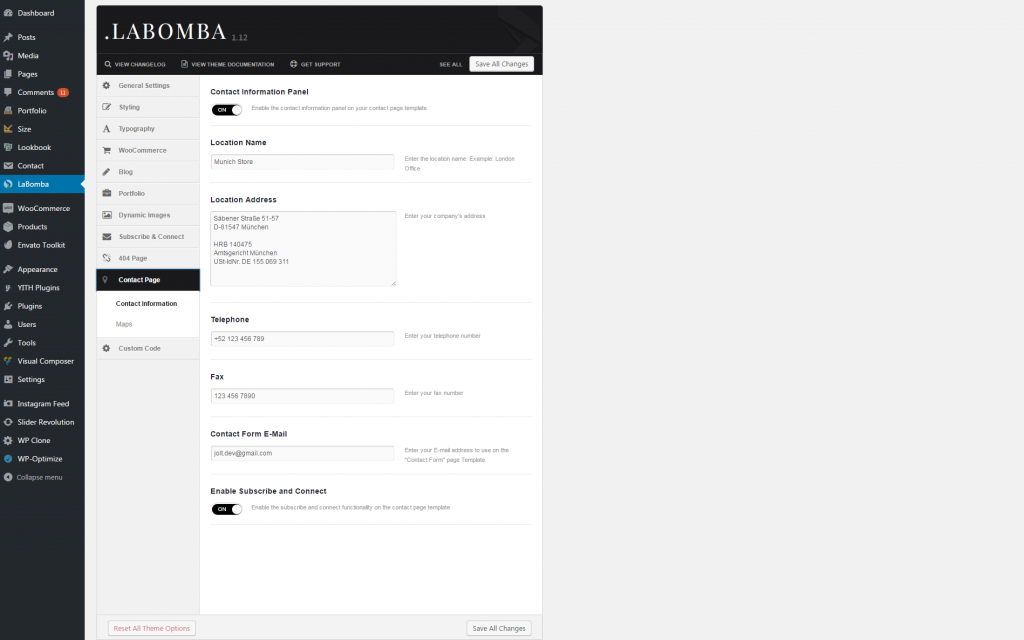
- Go to theme options (Labomba) then find ‘contact page’. You can fill your address, telephone, fax and email in ‘contact information’ section After you fill it hit the save buttons
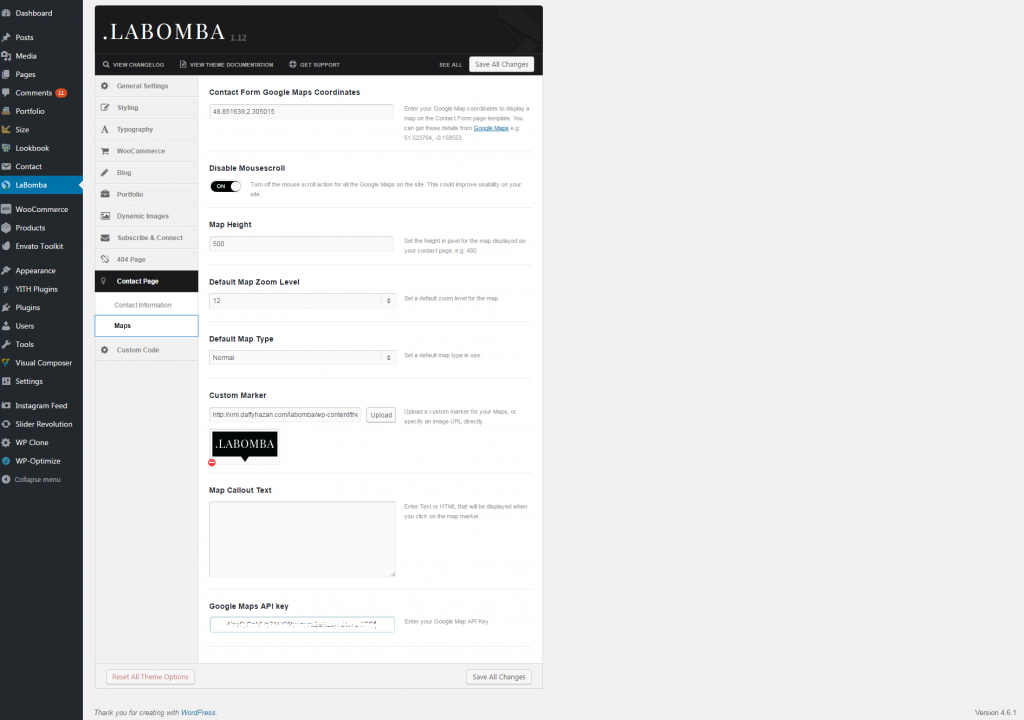
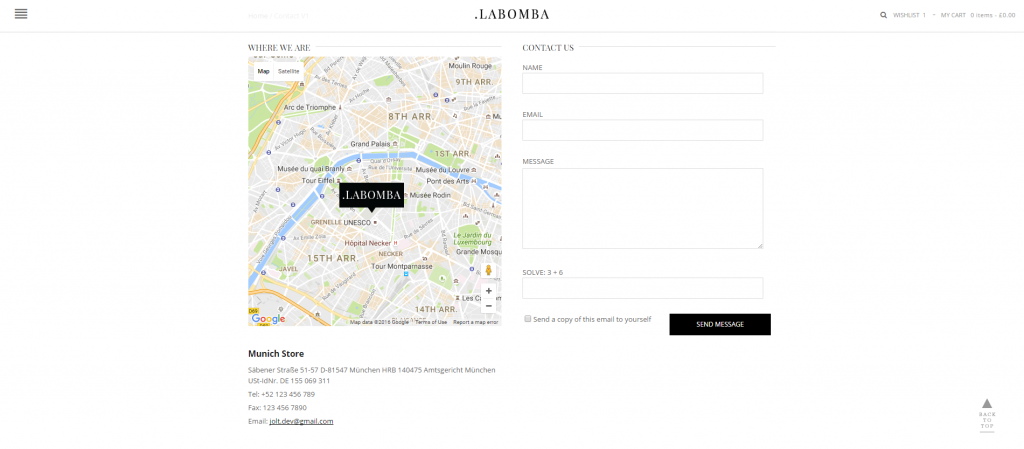
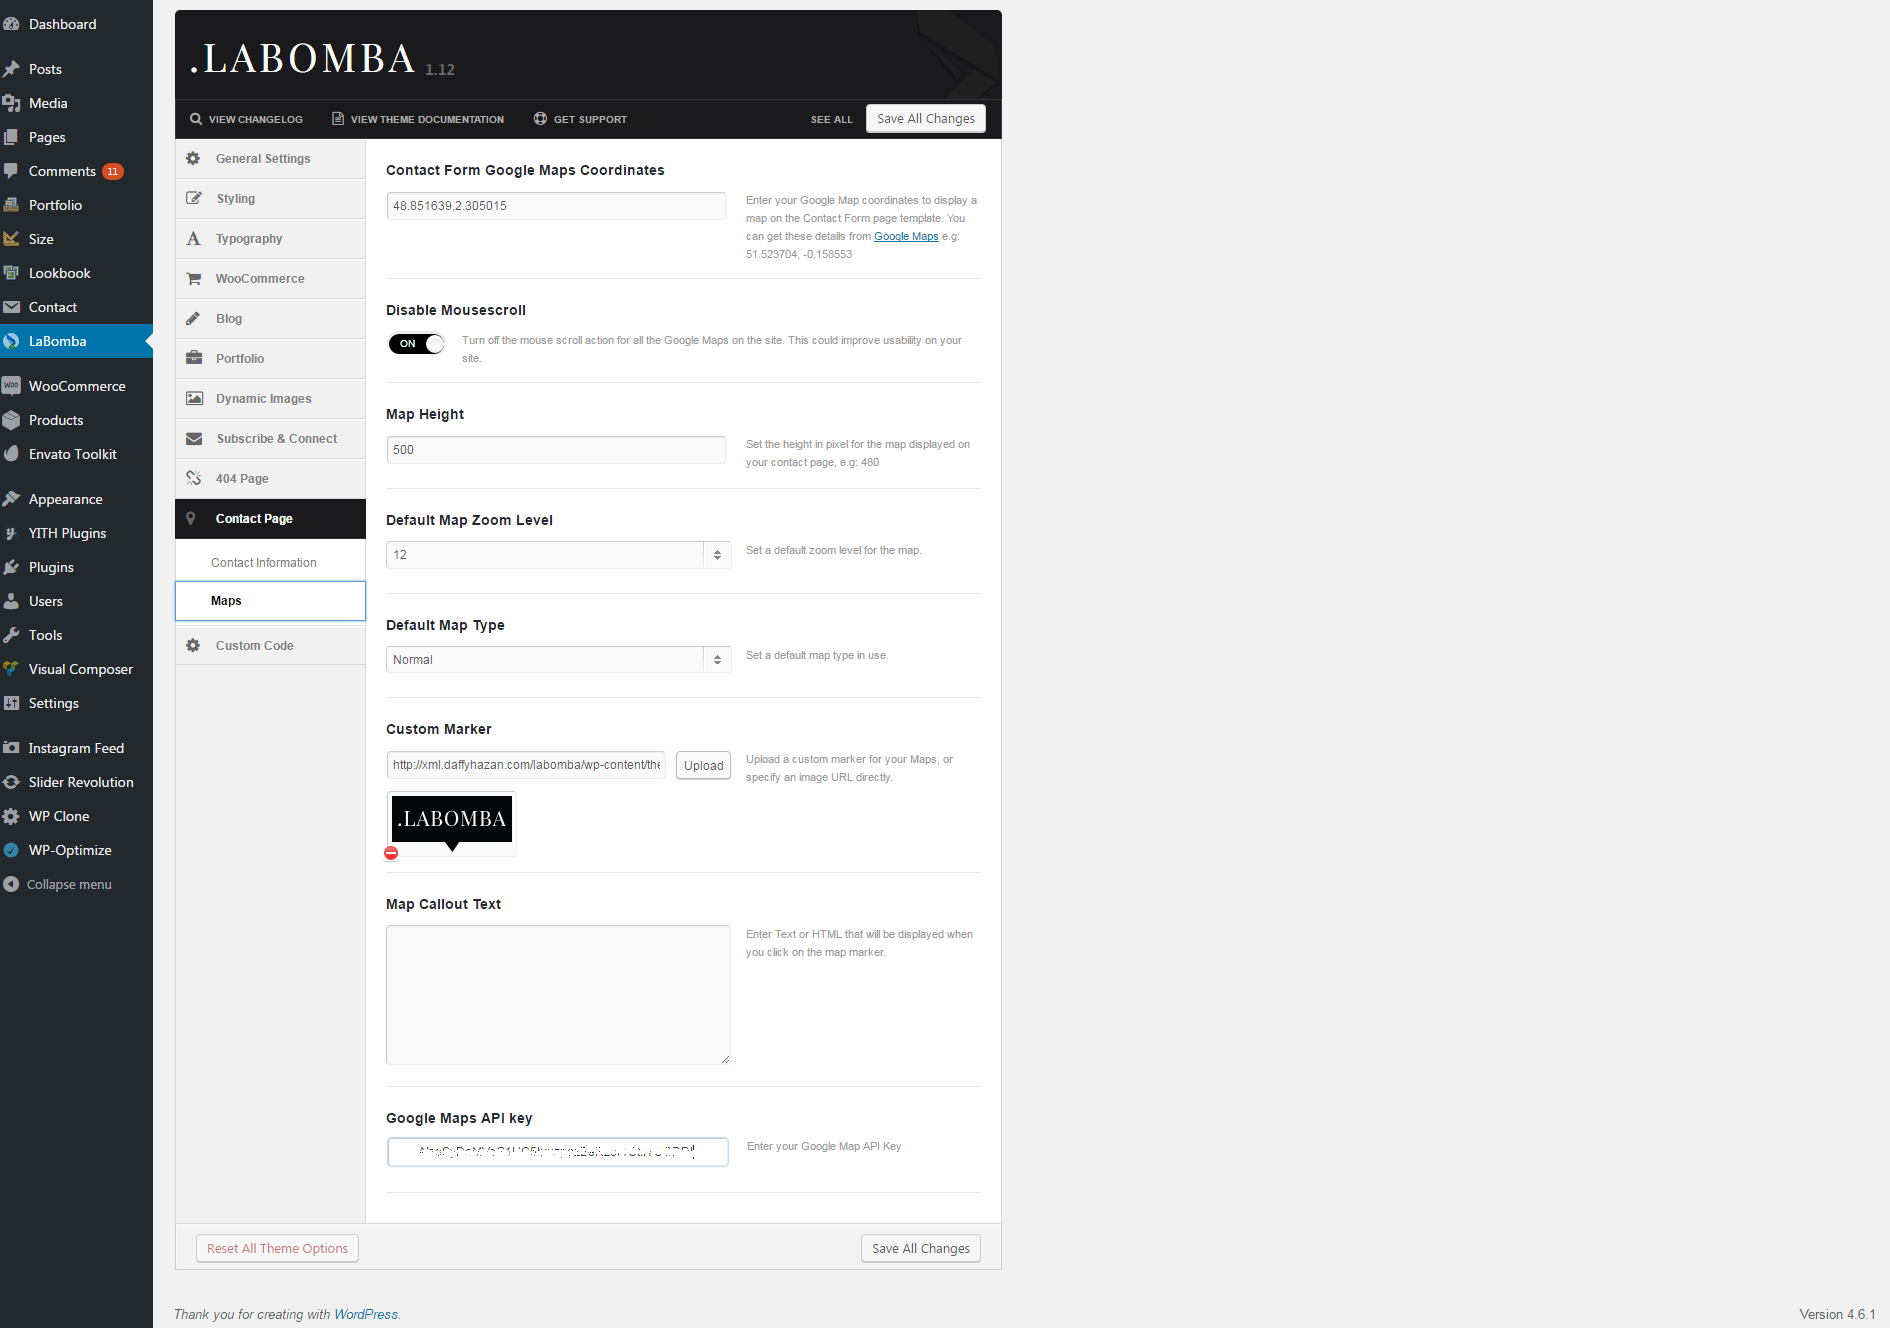
- If you want to display a map to your location, just go to the ‘maps’ section under the contact ‘page menu’ and fill the longitude and latitude of your location. Don’t forget to save your progress!
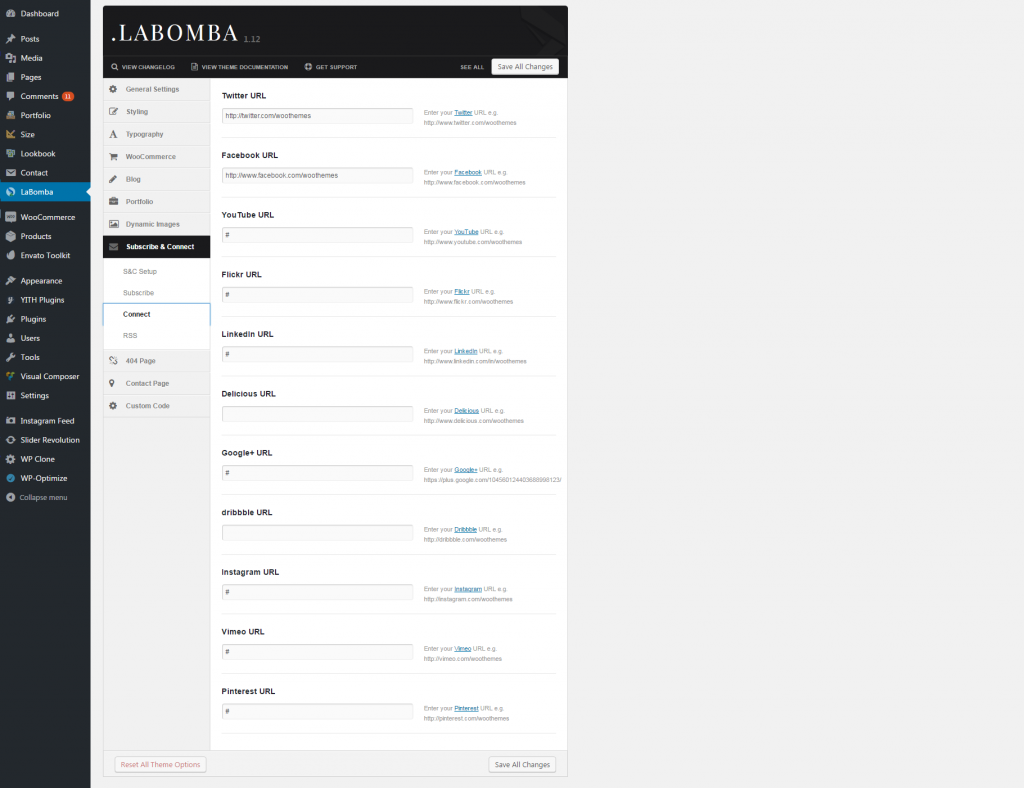
- You can also fill your social media account and RSS credentials now, go to ‘subscribe & connect’ then choose ‘connect’. And fill your credentials here. After that save again
- If you follow all the steps above, your Contact us page will be added to your website! Yeaaah!

Lookbook
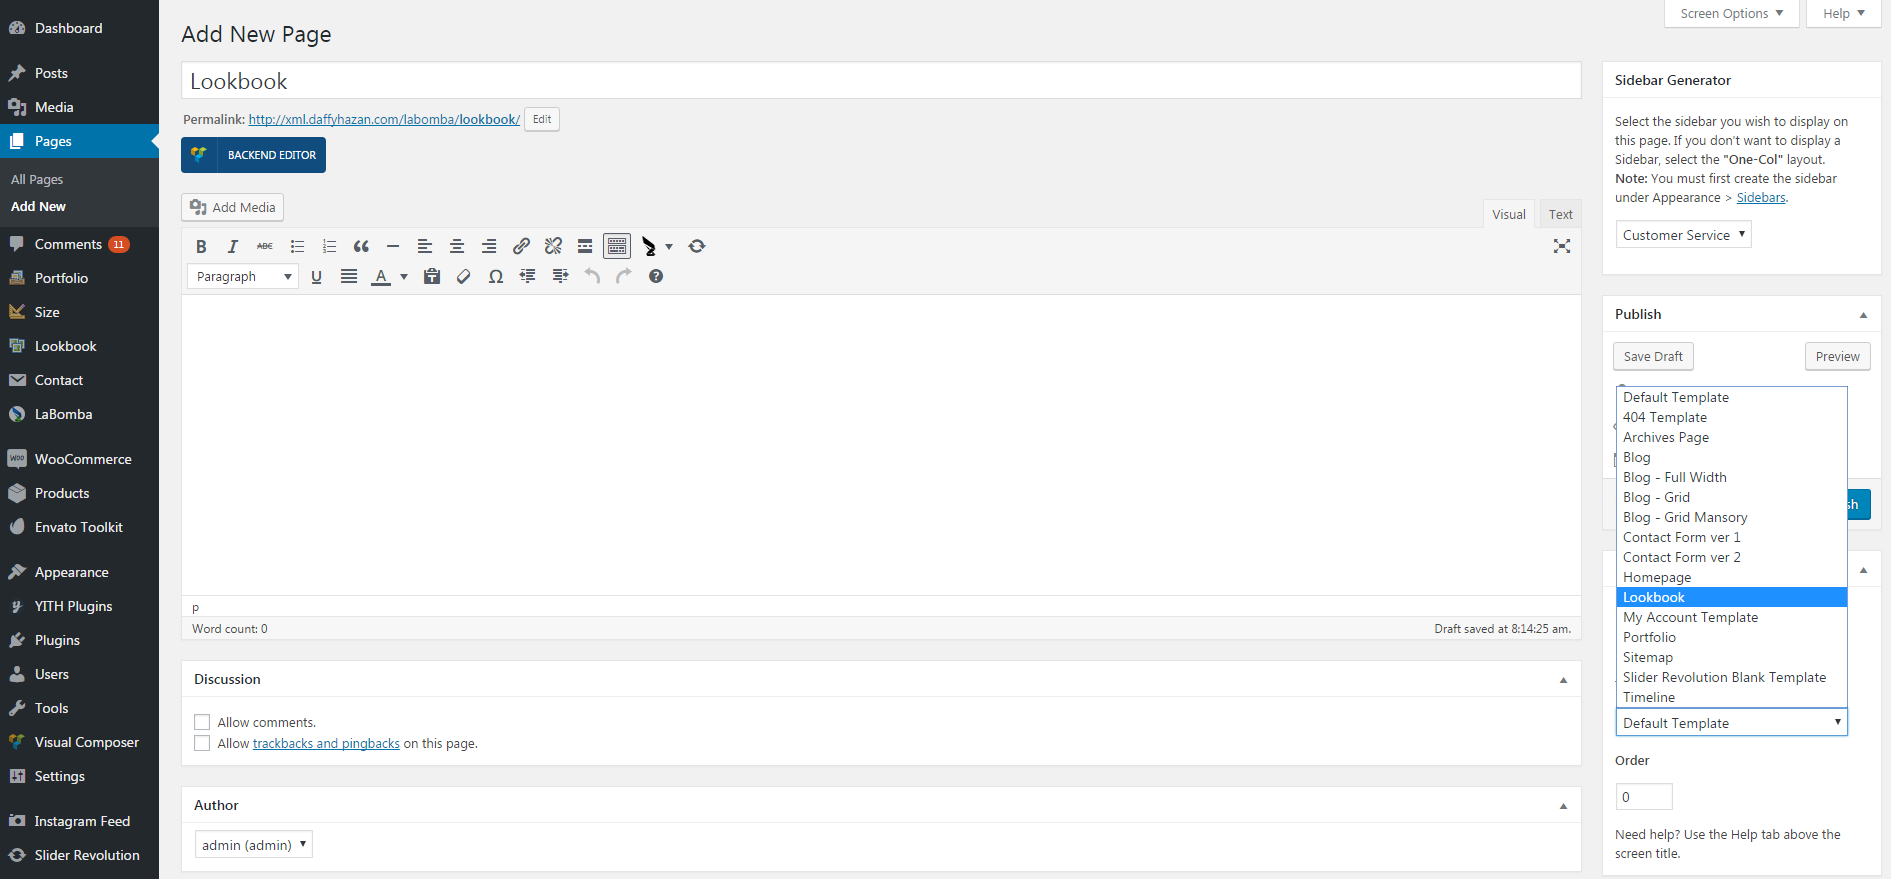
Now lets learn how to create a lookbook in LABOMBA, first of all please install WooCommerce plugin, lookbook will not be installed if you don’t have WooComerce if you already have WooCommerce installed; find [Pages] in the left sidebar of your admin panel and click on the second options [Add New], so the screen will look like this
Give a Name for your new page (here, I’m going with ‘LABOMBA’) Now scroll to the right sidebar and click on the Template drop-down arrow. From the drop-down, choose the “LOOKBOOK” template then choose the lookbook category in the lower parts of the screen . Hit publish it for now
If you already have some lookbook post, you just have to assign the lookbook post to the same category. If you haven’t, lets create some
Go to [lookbook] section in the left sidebar then click [add new]
Its like how you usually make a blog post. So give it a title, assign the post to a category then set featured image [for a more simple use, just leave the content box empty. This way your featured image will be displayed in the lookbook] *note, if you want to add a “shop this item” button in the lookbook, you can fill the url box in the lower part of text editor

Finally, publish it! [Note: Repeat the 3rd & 4th step as many as you like to complete your lookbook]
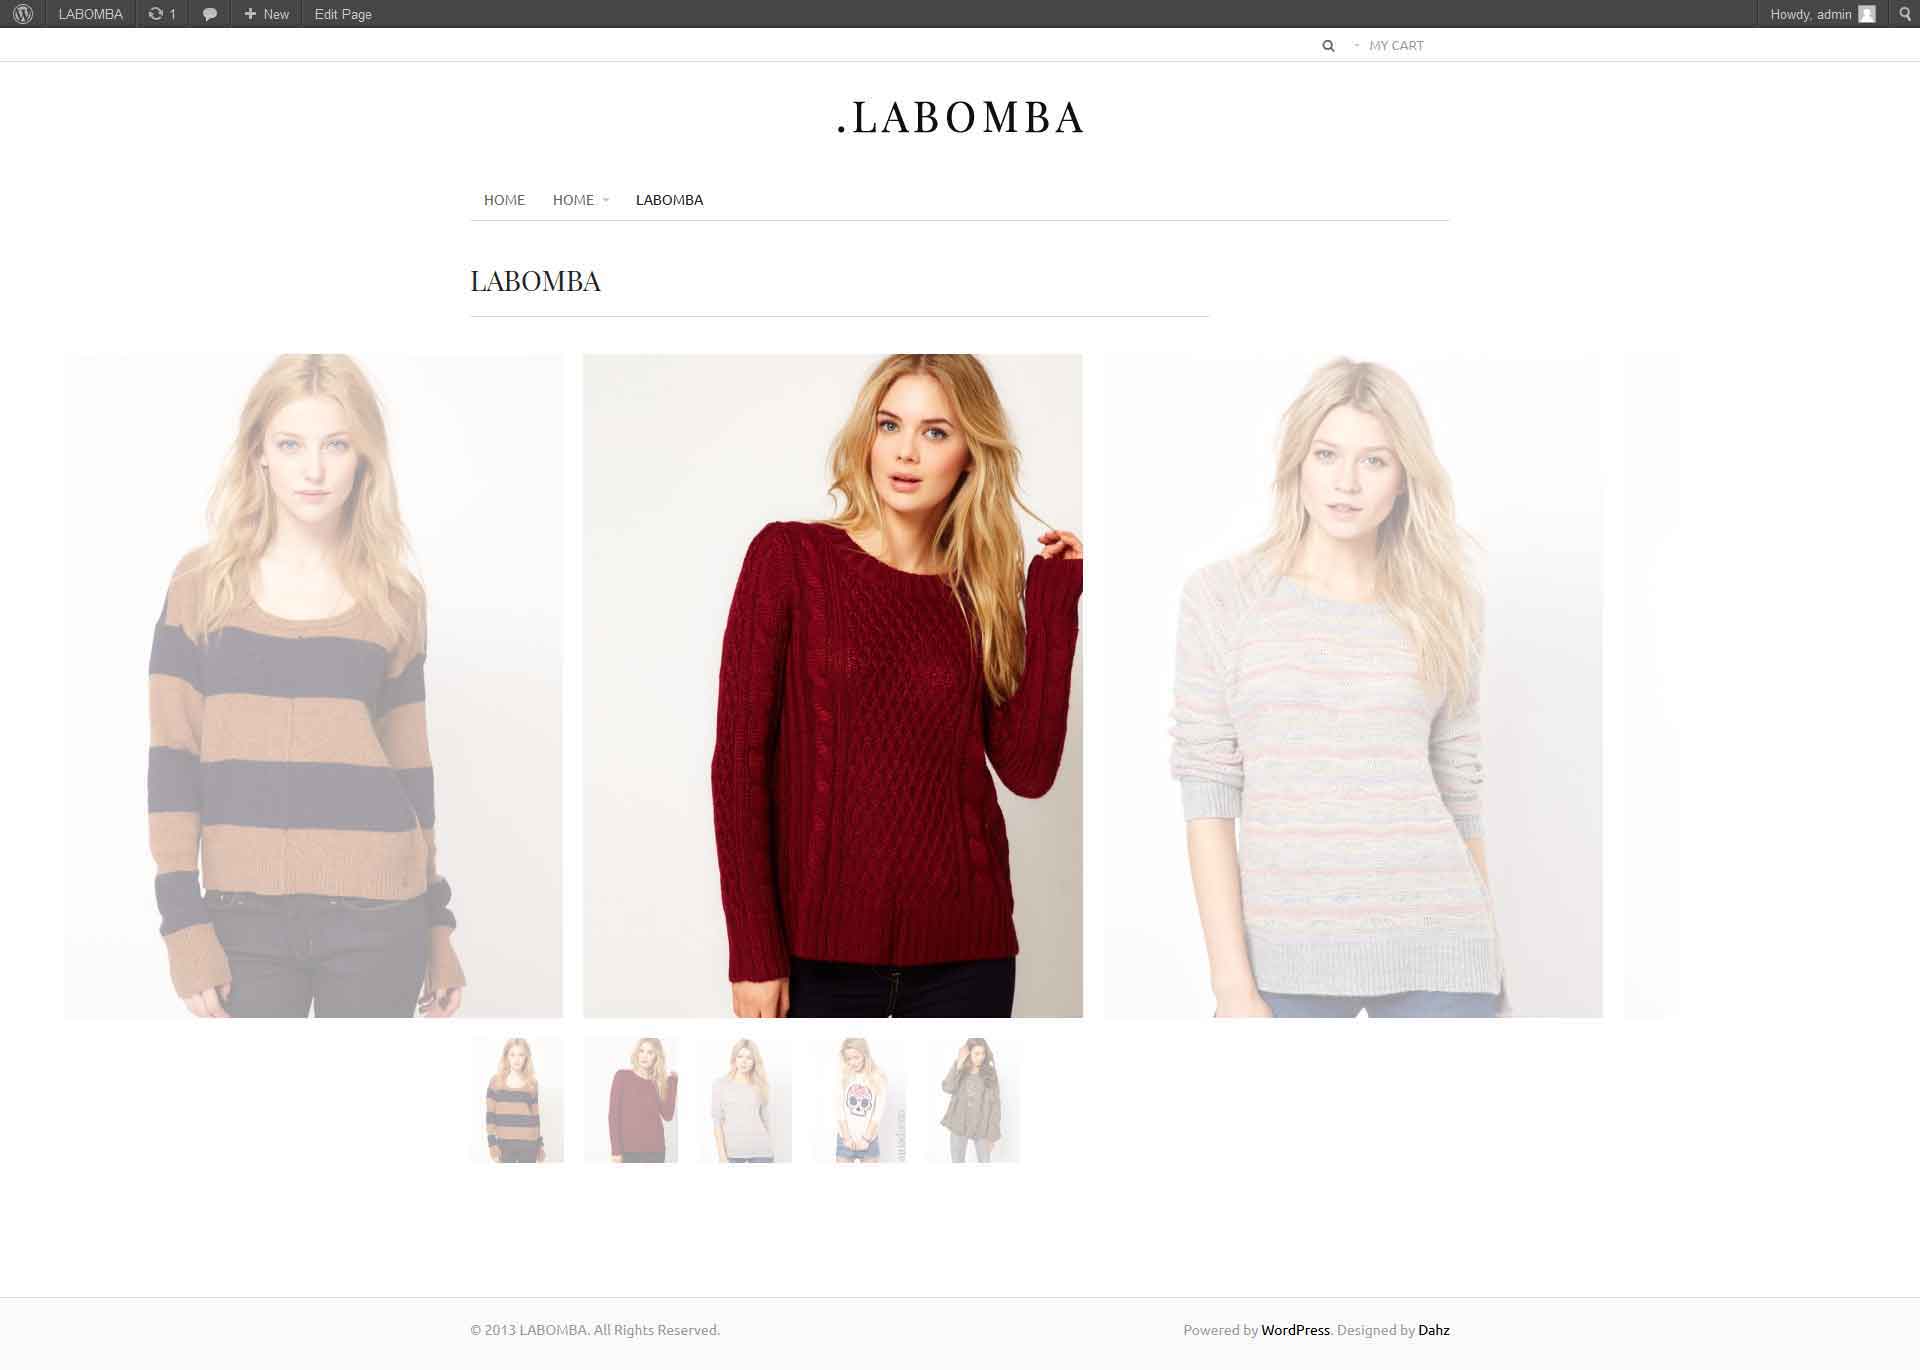
YAY, you have your own lookbook!
Portfolio
Creating Portfolio page is similar to other pages. The difference only in the template you will choose. Let’s try it. Shall we?
Go to [Pages] from the left sidebar of your admin panel then choose [Add New]. You will see this screen.
Give a Name for your new page (here, I’m going with ‘Portfolio’) Now scroll to the right sidebar and click on the Template drop-down arrow. From the drop-down, choose portfolio.
Now scroll to the right sidebar and click on the Template drop-down arrow. From the drop-down, choose portfolio.
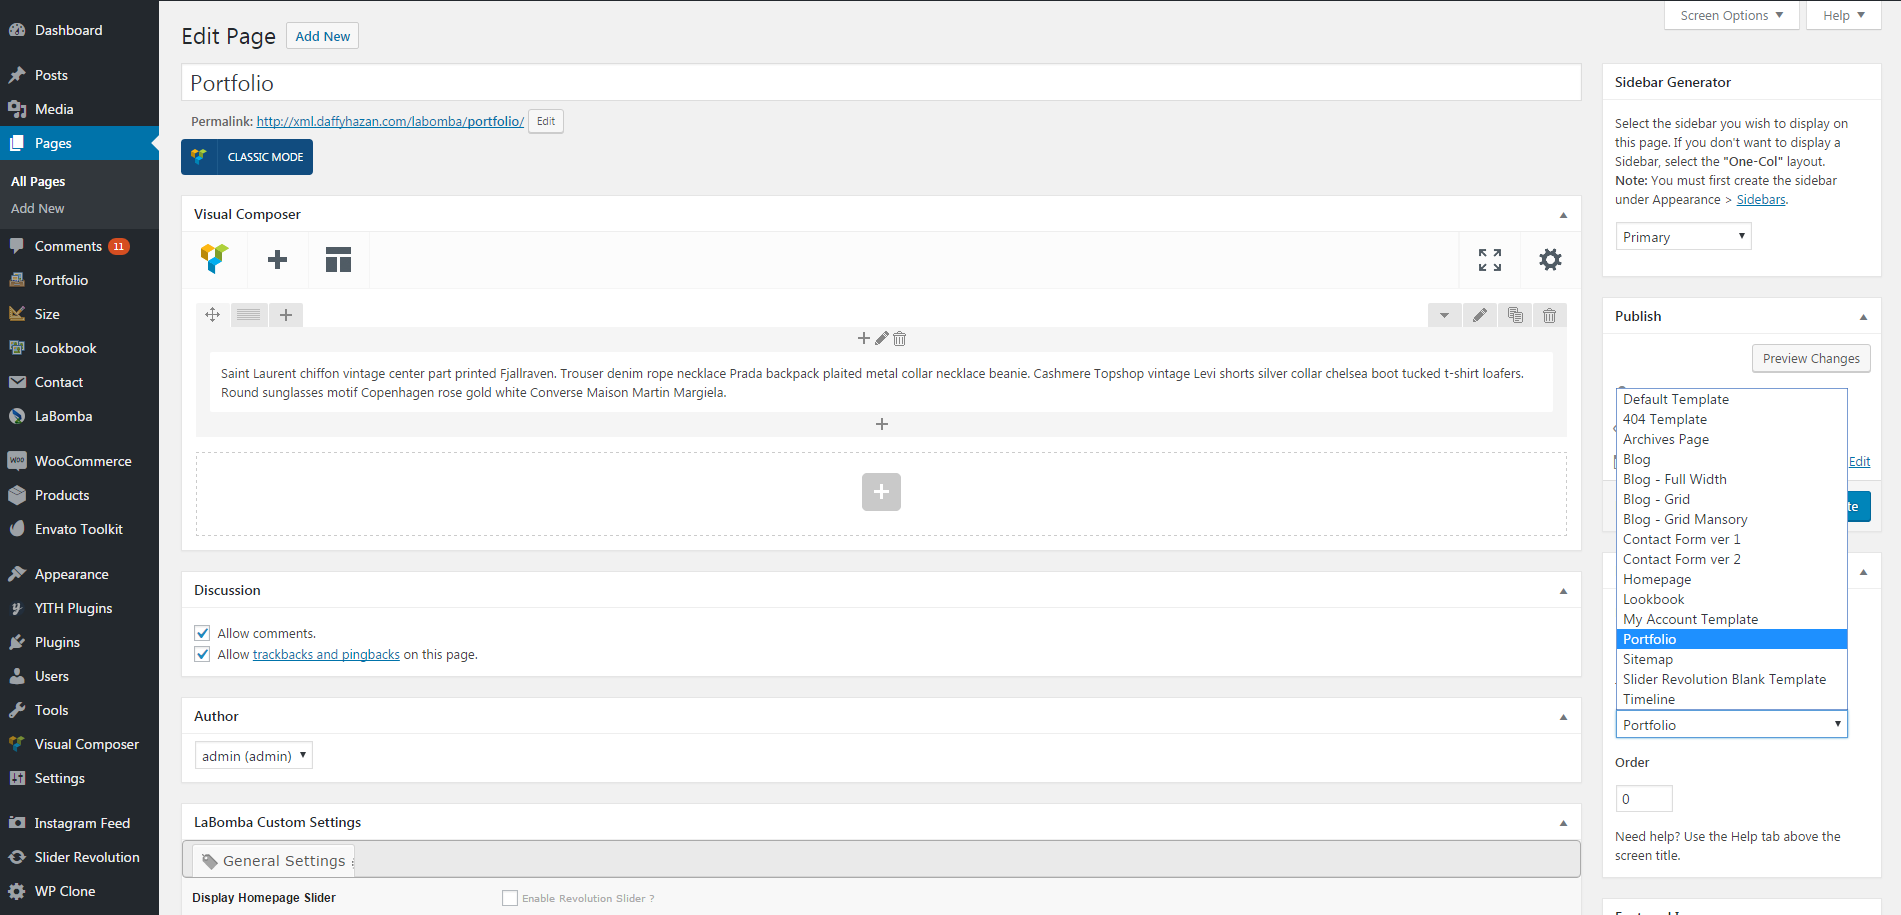
You can also fill any other elements here. After that, hit publish. And your portfolio pages is ready 😀
*To show your work in portfolio page you can create new posts from [portfolio] section in your admin panel (this will be reviewed later in post creation section of this documentation)
*If you want to manually define your portfolio image thumbnails please go to theme Options > Component > Portfolio > Portfolio Thumbnail Dimensions.